
It's good to ask your visitors, to leave a review. This will boost your online reviews and therefore your online reputation.
There are three ways to set up this campaign:
- Using your own data base (a list of own e-mail addresses)
- Using WIFI Marketing product to send automated Review Requests (recommended)
- Connecting Review Request to other platforms, such as reservation tools
Once you decide which one you will use the steps are the same for both:
1. Go to your Reviews Tab in the dashboard
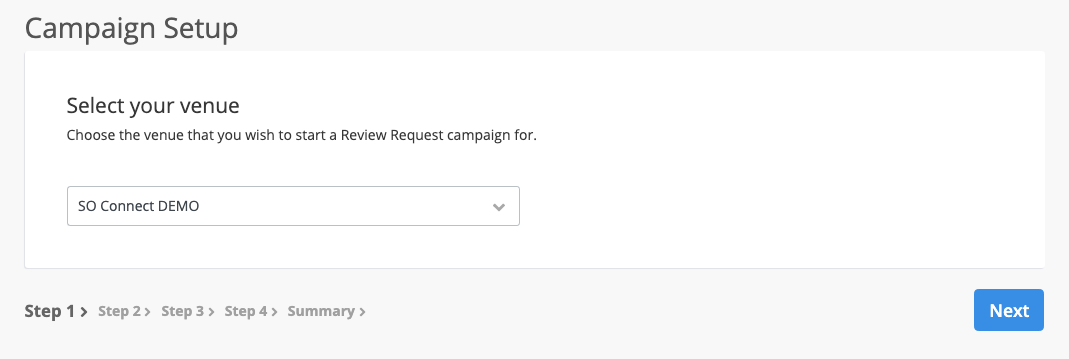
2. Select the venue you wish to setup the campaign for
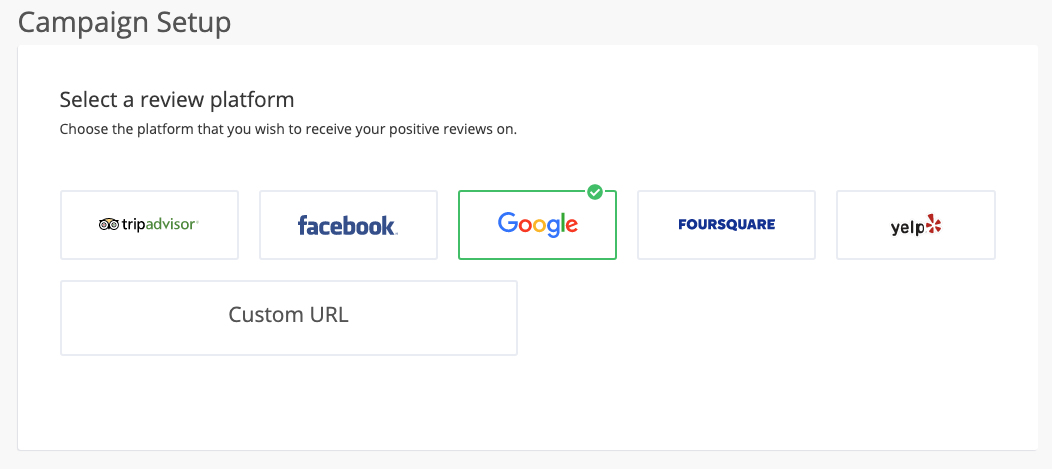
3. Select the platform you wish to receive more reviews for? We recommend to use Google, since its growth, visibility and usage is increasing dramatically. We automatically lists the platforms that are linked in your Reviews account. We only show platforms that allow reviews to be written for.
4. Remember you can redirect the negative feedback to a private email, so your review channel wall can be cleaner and you have the opportunity to reach out to these visitors. We recommend to have an eye on those negative feedback because it's the key for improvement and success.
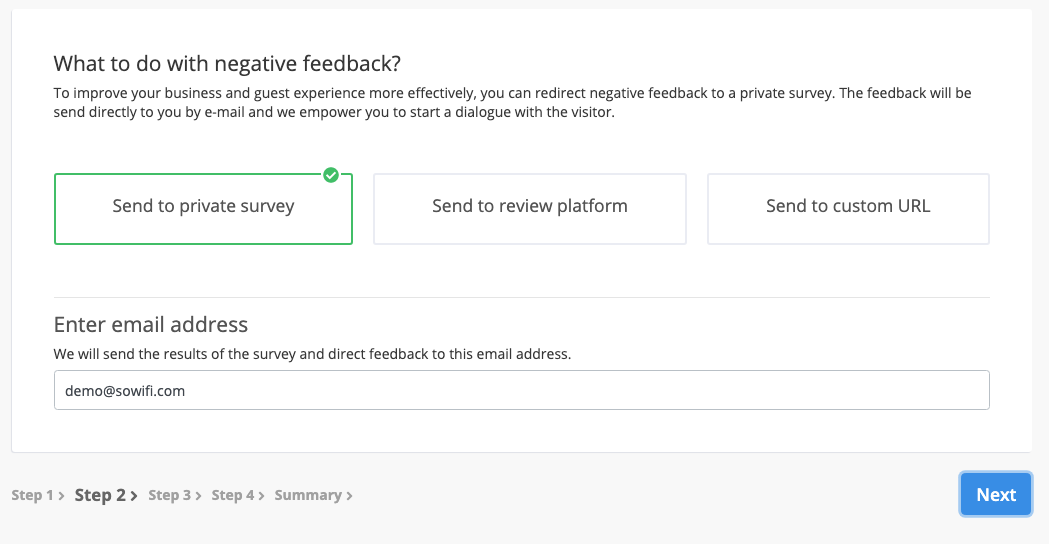
Or you can choose to send the negative feedback to the platform. the latest addition is redirecting to a custom URL, which means you can setup your own survey (for example) in order to receive useful feedback.
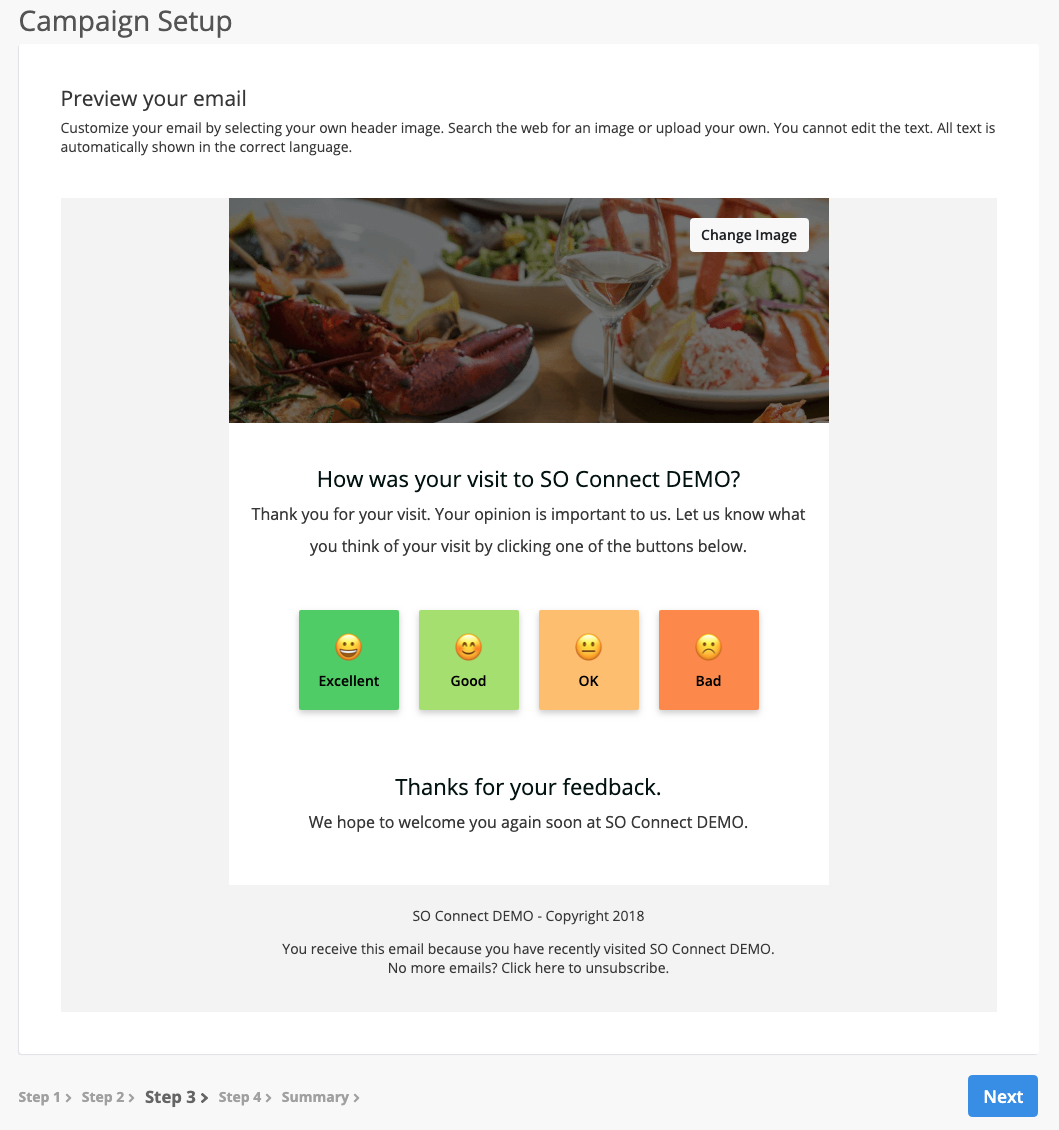
5. In the Campaign Setup you will only be able to edit the top image, its aspect ratio is 16:6. The text must be the same for all locations, so the language can be automatically adjusted depending on the language of the user. We'll manage when to send out the campaign and optimize the e-mails, in order to improve the performance of the e-mail campaign.
6. Remember we said there were two ways to set this campaign? Well, in the final step you will decide if you import your own data base, or you use the WIFI Marketing option. If you are going to import your own data base, please remember it should be an excel spread sheet, with only emails and not more than 5.000 emails per campaign.
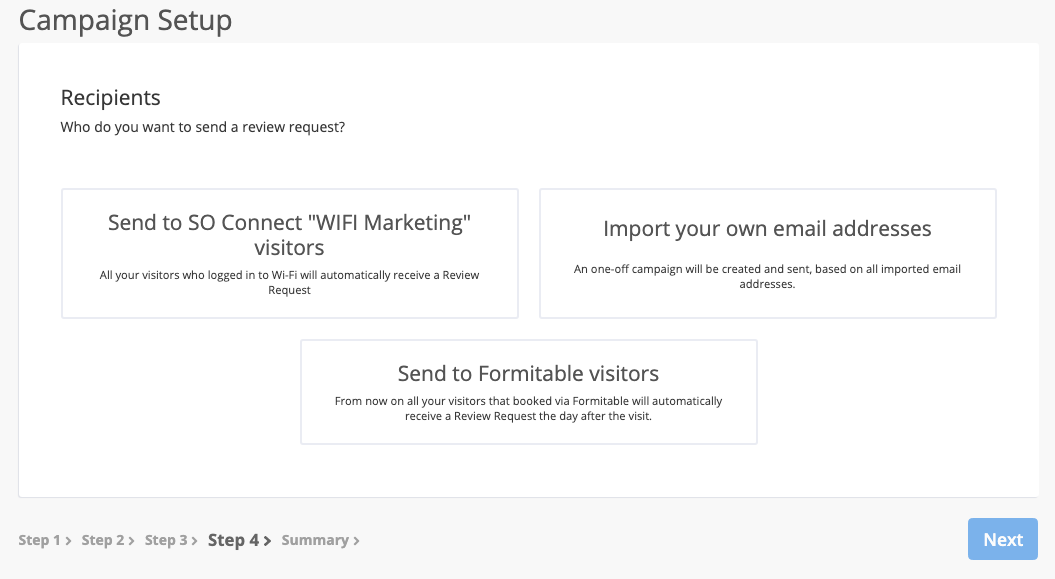
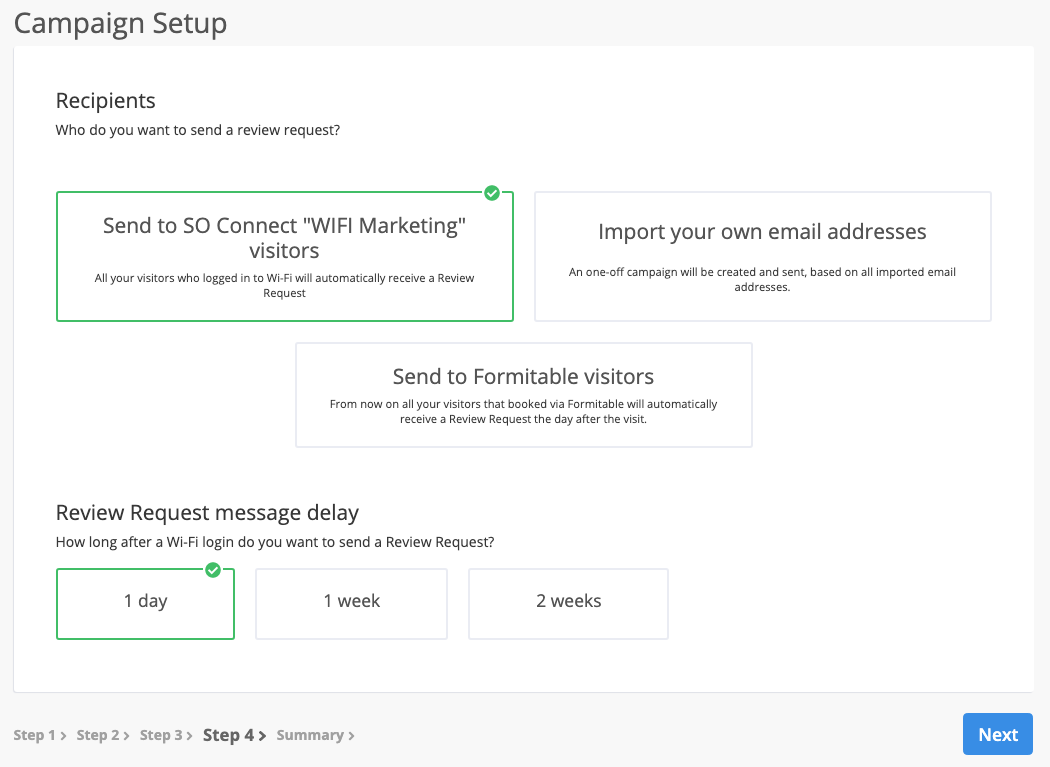
By Sending the e-mail automatically via WIFI Marketing, you can set the delay to send the message 1 day, 1 week or 2 weeks after the Wi-Fi login.
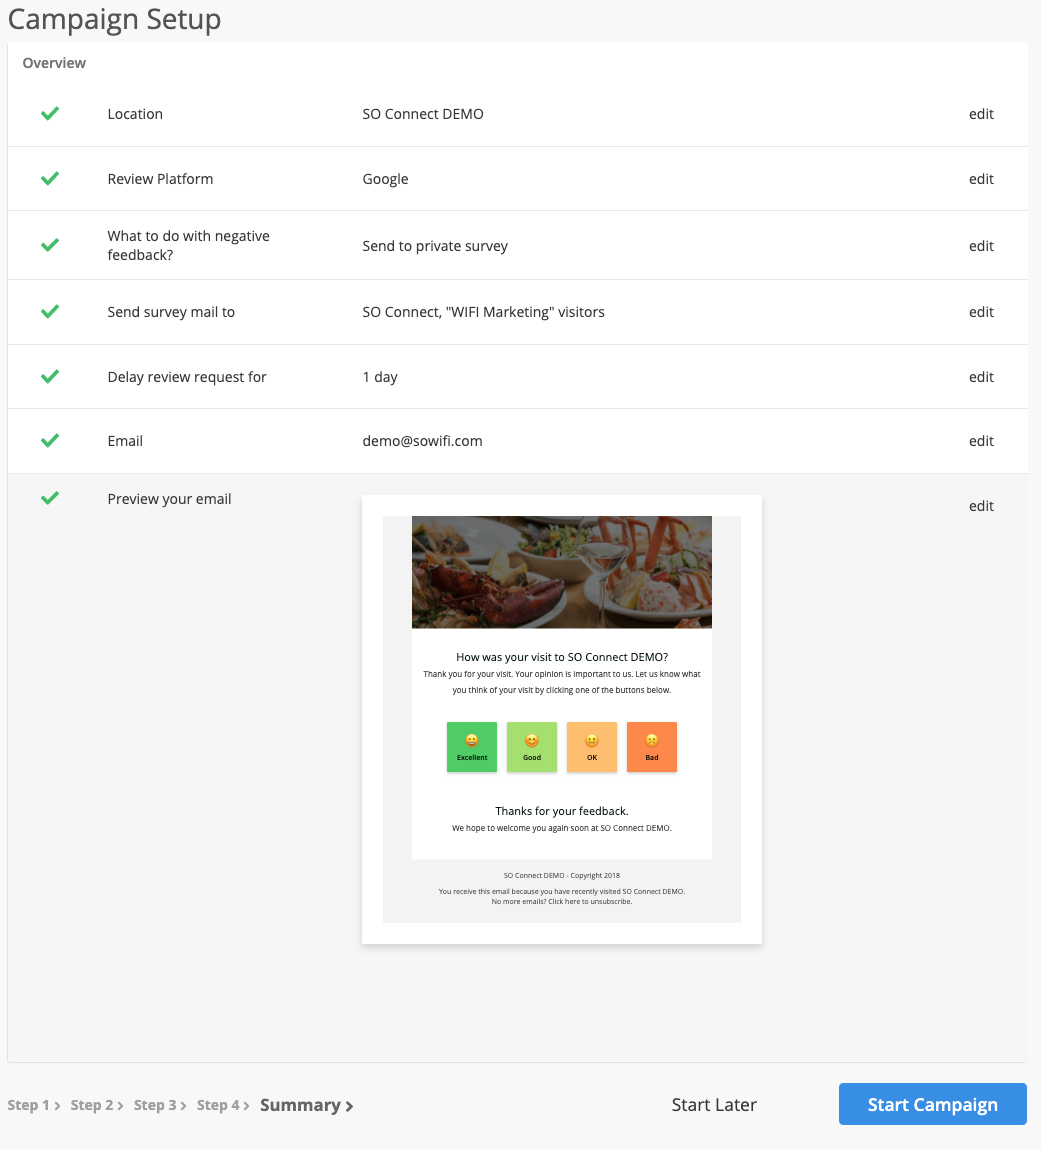
7. Next you will be shown a summary page where you can check all of the settings. You can start the campaign automatically, or start it later.
Comments
0 comments